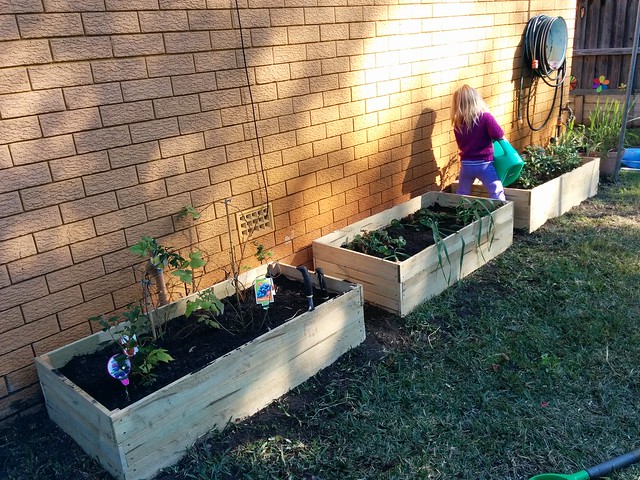
Spring is almost upon us and all around Australia garden beds are being prepared for the coming season.
Garden boxes built from fence palings are inexpensive and easy to make. They also look great and best of all they will last for years.
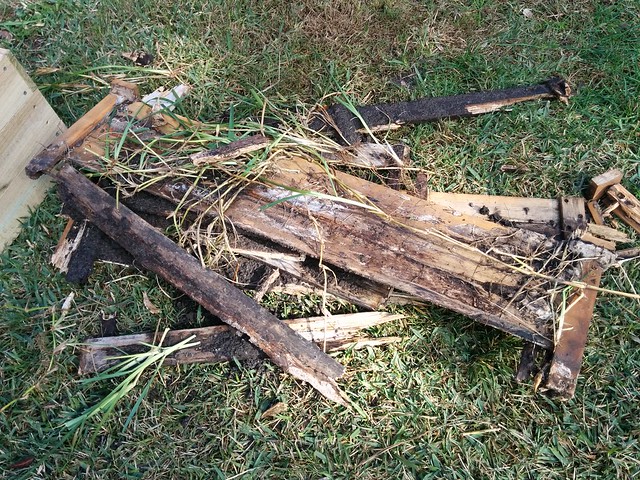
Commercial garden boxes tend to be either overpriced or of poor quality. The boxes we purchased on sale from a well-known Australian Shop purveying Reject goods rotted away to almost nothing in the space of 2 seasons:
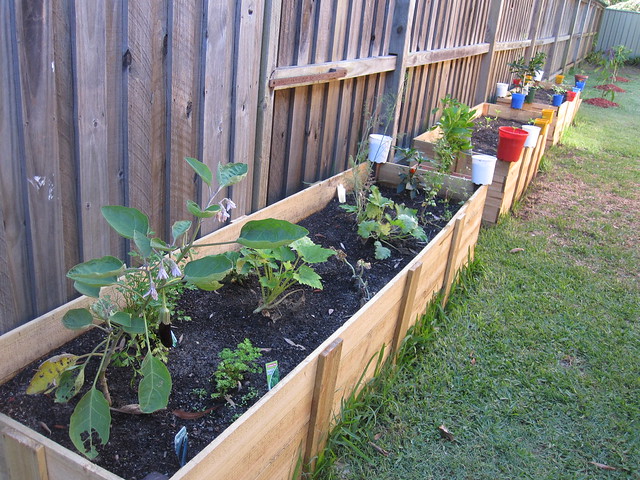
By comparison, fence palings are treated to withstand moisture and sunshine. The large custom boxes I made from fence palings a few years ago are still going strong:
The new boxes described here are a similar but slightly improved and more compact design.
Materials
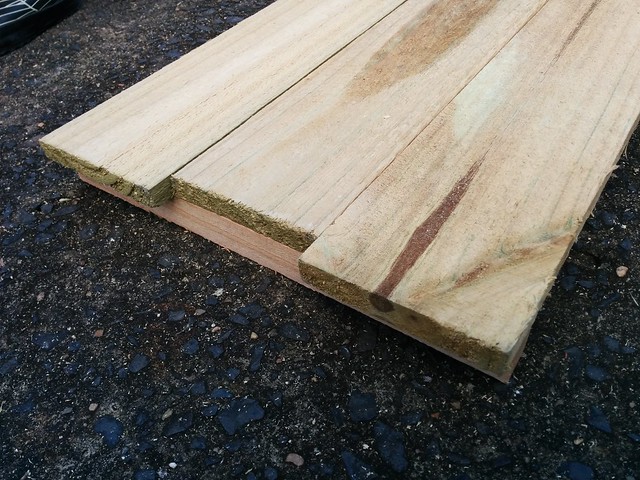
This is what you'll need to make a single 1.2m x 0.6m box. Adjust lengths and quantities to suit your space and to make more boxes as required:
- 6 x 1.8m fence palings
- 1 x 1.2m garden stake
- 48 x ~20mm screws
Tools
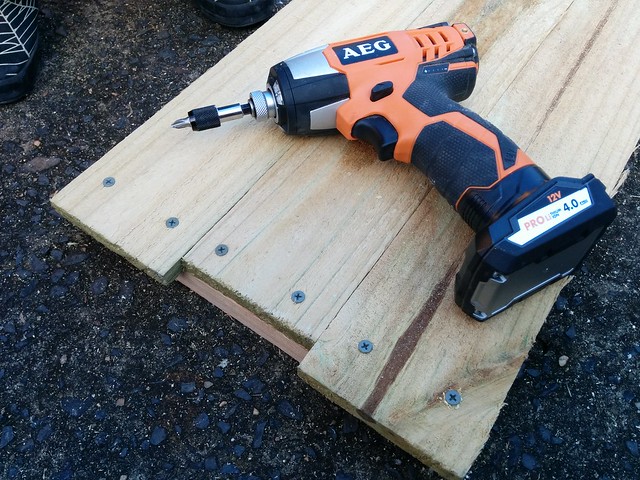
- Saw (a hand saw will do, but an electric drop saw is quicker)
- Screwdriver (a hand driver will do, but an impact driver is quicker)
Steps
1. Cut Timber
Cut each of the fence palings at 1.2m. This will leave you with:
- 6 x 1.2m lengths
- 6 x 0.6m lengths
Cut the garden stake into 4 x 0.3m lengths.
2. Assemble Long Sides
First we will make the long sides. Each long side uses 3 palings, staggered so that they can interlock with the short sides to make the box stronger.
Take 3 x 1.2m fence paling lengths and lay them alongside one another on top of 1 x 0.3 garden stake length. Stagger them so that the top and bottom paling lengths protrude roughly 10mm (the thickness of a fence paling):
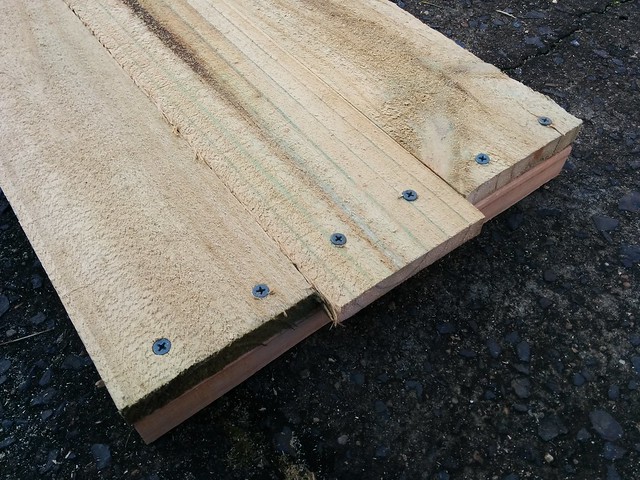
Attach the paling lengths to the garden stake length with 6 x screws:
At the other end of the paling lengths, repeat the process. Note that the palings are staggered in the opposite order:
Congratulations, you've now completed one side of your box! Repeat the process to build a 2nd long side.
3. Assemble Short Sides
You should now have 2 completed long sides. All that remains is to attach them with the remaining short lengths of fence paling.
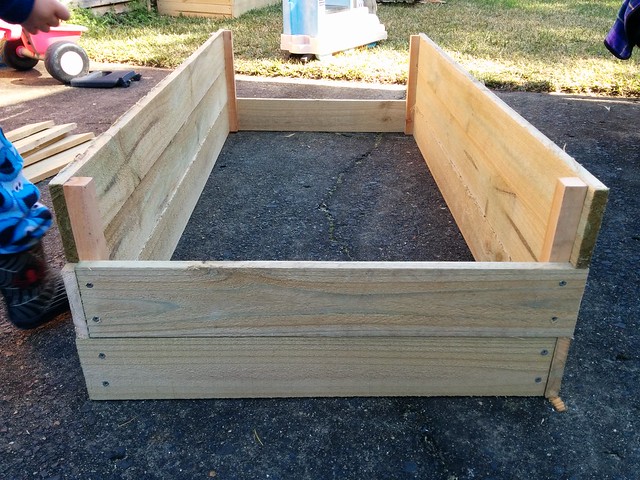
Prop the 2 x long sides up with the staggered 'key' edges facing in opposite directions. Prop a short fence paling length along the ground at each end:
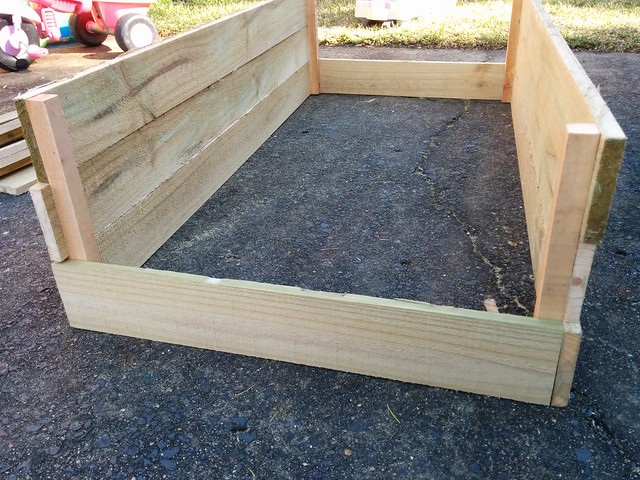
Notice how the short lengths interlock with the long sides? Screw them into place and your box will start to take shape:
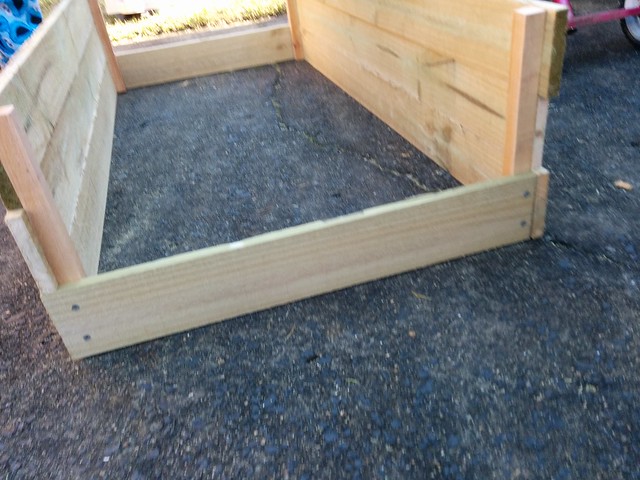
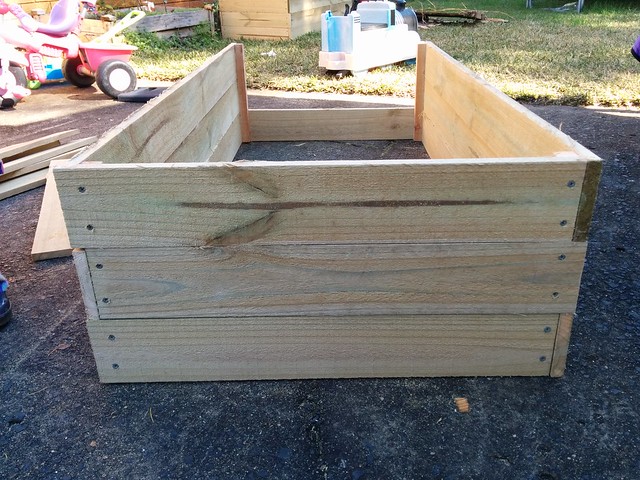
Take another pair of short lengths and repeat the process. Almost done!
Take the last pair of short lengths and repeat the process one last time to complete the short sides:
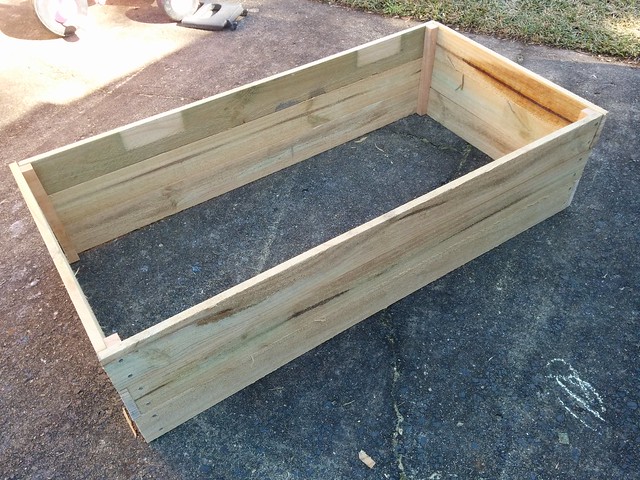
4. Get Planting
That's it! Put your box in the garden, fill it with soil and plant something!
Update 2015-10-19: for ideas on how you might vary this design for your own needs check out Inexpensive Garden Boxes - Variations on a Theme.