I previously blogged about the tosr0x, an inexpensive USB relay controller board which I'm using as part of a computerised thermostat.
Having creating tosr0x.py to control the tosr0x' relays using Python, I required a device which employs these relays to switch a pair of mains sockets. This device will essentially be a programmable mains powerboard, switching power to a refridgerator and heat belt to regulate the temperature of my home brew.
This is a reasonably simple project. It essentially involves wiring together a handful of components and mounting them inside a box. For the sake of neatness I take the mains input from an IEC socket rather than wiring a cable directly.
The finished product is a mains powerboard which can be plugged into a USB port and controlled by anything that can speak to the tosr0x.
DISCLAIMER: Ultimately this project is no more dangerous than wiring a mains plug. If you wouldn't be confident doing that, I strongly suggest that you learn the basics of mains power before continuing. Mains Power Can Kill You and I take no responsibility if you damage your property or yourself in the process of building your own USB powerboard.
Parts
- 1 x Tosr0x
- 1 x Mini-USB cable
- 1 x IEC cable
- 1 x Plastic Box
- 1 x IEC socket, (switched + fused if available)
- 2 x Power sockets
- 1 x 1m length mains cable (3-core) or equivalent individual wires
- 1 x Small length heat-shrink tubing
- 3 x Terminal ends (to suit IEC sockets)
- 4 x Spacers/standoffs, (to fit Tosr0x)
Tools
- Dremel
- Drill + hole saw, (size to fit power sockets)
- Screwdriver
- Pliers
- Terminal crimp tool
- Epoxy resin, (Araldite or similar)
Process
1. Drill Mains Socket Holes
On one of the box' long sides, use a drill and hole saw to cut two holes for the power sockets.
2. Drill/Dremel IEC Socket Holes
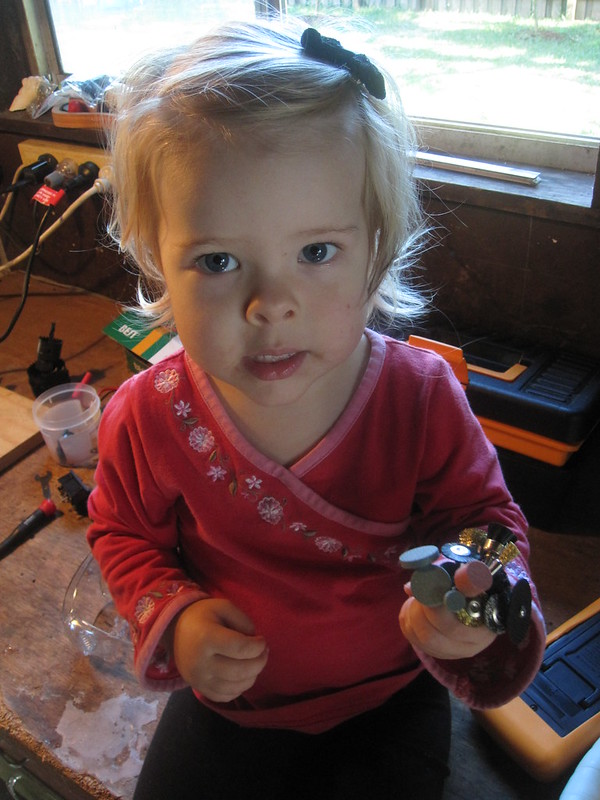
On one of the box' short sides, use a drill and dremel to cut a hole for the IEC socket. At this point it's great to have a helper to hold your dremel bits...
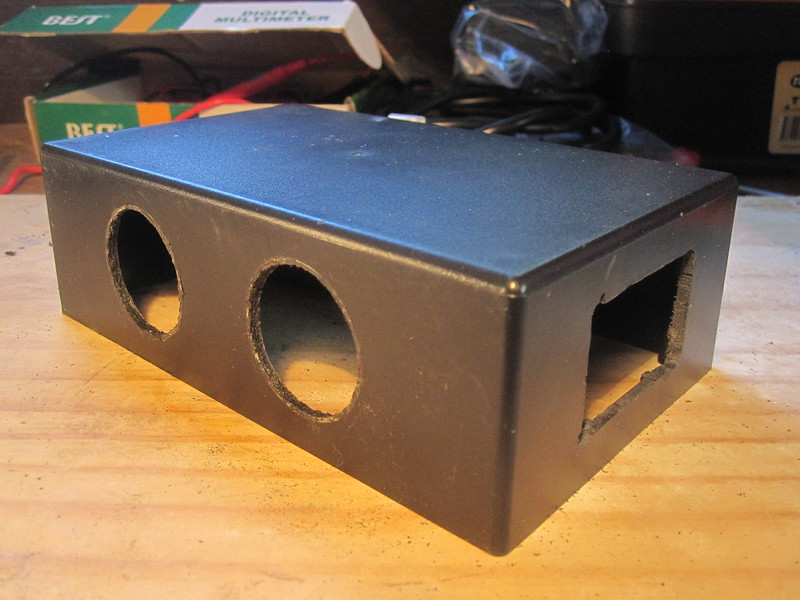
Once steps 1. and 2. are complete, you will have a box which looks something like this:
3. Mount Mains Sockets
Mount the mains sockets in the 2 holes drilled in step 1. This process will vary depending on your local mains sockets. The Australian sockets that I used come in 2 pieces which screw together, sandwiching the edge of the hole.
4. Mount IEC socket
IMPORTANT: The IEC socket must be mounted securely. This ensures that a yanked IEC cable can't dislodge the socket and expose mains power.
The IEC socket that I used has clips which are supposed to lock the socket inside its mounting hole. However the walls of my box were too thick for these clips to engage.
To compensate, I used my dremel with a grinding bit to thin the walls of the box around the IEC socket hole such that the clips would engage. Then for added strength I ran epoxy around the outer edge of the hole before installing the socket. Now it's not going anywhere.
5. Mount Tosr0x
The tosr0x board needs to be mounted on the base of the box. First attach 4 spacers to the tosr0x. Depending on the spacers used these will either screw onto or clip into the tosr0x' mounting holes.
Next, place the tosr0x on the box' base. Position it in the opposite corner to the mains and IEC sockets to provide maximum clearance for wiring. Aim to position the usb socket as close to the wall of the box as possible.
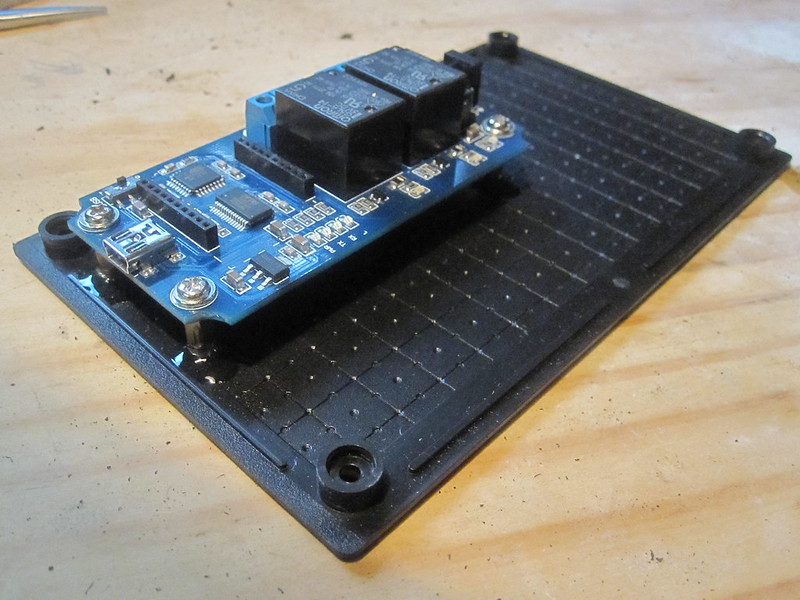
If using adhesive-backed spacers, simply peel off the backing and attach the tosr0x to the box' base. I used screw-in spacers, (out of an old PC) which I attached by placing a blob of epoxy on the tip of each spacer.
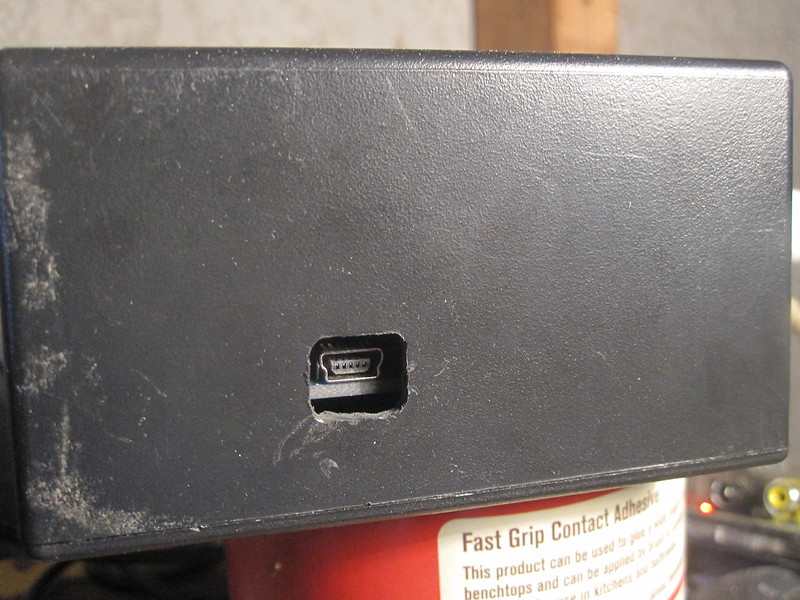
6. Dremel USB Socket Hole
With the tosr0x in place, the box requires one last hole to allow access to the USB port.
Measure the distance from the USB port to both the base and side of the box. Use these measurements to drill a pilot hole - if you place the box over the base, this hole should roughly align with the USB port.
Now use a dremel to open the hole until it is wide enough to fit your mini-USB cable.
7. Wiring
To switch the mains sockets on and off, the tosr0x' relays will open and close paths between the Active terminal of the IEC socket and the Active terminals of each mains socket. The Neutral and Earth terminals of the mains socket connect directly to the IEC socket.
IEC Active----Tosr0x Relay #1----Mains #1 Active||Mains #1 Neutral----IEC Neutral
          \---Tosr0x Relay #2----Mains #2 Active||Mains #2 Neutral---/
                                                ||Mains #1 Earth------IEC Earth
                                                ||Mains #2 Earth-----/
8. Cut Wires
If using mains cable, strip the outer insulation to extract the individual core wires. Cut the following lengths, each roughly 15cm long, (depending on the size of your box) and strip 5-10mm of insulation from each end:
- 4 x Active (Brown/Red)
- 2 x Neutral (Blue/Black)
- 2 x Earth (Green/Green|Yellow)
9. Create Y-Cables
2 connections must be made to each of the Active, Neutral and Earth terminals of the IEC socket. To achieve this, we will construct 3 x y-cables:

For Active, Neutral and Earth, take a matching pair of the wires cut in step 9 along with a terminal end. Place the stripped wire tips together inside the terminal end and crimp using a crimping tool.
Finally, insulate each termination. Cut a small length of heat-shrink tube and slide it over the wires such that it covers both the base of the wires and the crimped section of the terminal end. Use a hair dryer to shrink it in place.
When complete, you should have:
- 2 x Active wires
- 1 x Active y-cable
- 1 x Neutral y-cable
- 1 x Active y-cable
10. Attach Wires
Wire the box' various components according to the diagram in step 7. Wires attach to both the mains sockets and the Tosr0x using screw terminals.
IMPORTANT: Pay close attention to which terminals are marked Active, Neutral and Earth/Ground on your IEC and mains sockets.
-
Terminated ends of the Active, Neutral and Earth y-cables to the Active, Neutral and Earth terminals of the IEC socket.
-
Stripped ends of the Neutral y-cable to the Neutral terminals of each mains socket.
-
Stripped ends of the Earth y-cable to the Earth terminals of each mains socket.
-
Stripped ends of the Active y-cable to the middle pin of each of the Tosr0x' relays.
-
One Stripped end of an Active wire to each relay's 'normally open' terminal. Other stripped end to the Active terminal of the corresponding mains socket.
When all of this is complete, your powerboard should look something like this:

I advise against taking one of these in your carry-on luggage.
11. Close Box
Close the box and secure with screws. Here's the finished product:
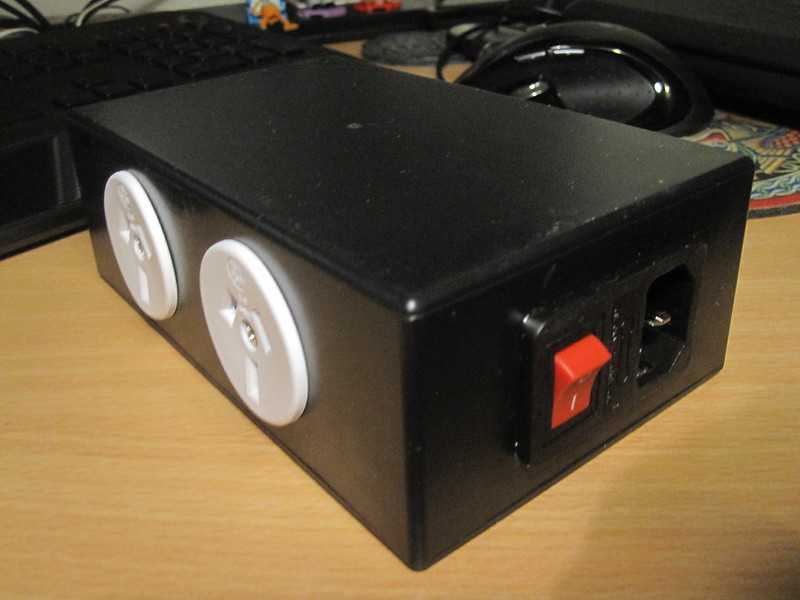
Plug the IEC and USB cables into the powerboard and then connect to your computer's USB port. If all has gone well, you will be able to control the mains sockets using tosr0x.py.
Uses
There you have it, you can now control power sockets using your computer.
In my next post, I'll describe how to use the USB powerboard and a simple USB thermometer with my software thermostat 'braubuddy'. This rig can be used to control the temperature of anything mains powered, from a fermenter of home brew to a tropical fish tank to an entire house!
Programmatically-switchable power sockets are something of a sledgehammer. They lack fine-grained, device-specific control but can be used to switch just about anything. Here are a few interesting ideas:
- Timer Light - While you're on holiday, switch a lamp on in the evenings to give the appearance of being home. Bonus points for randomising the switch-on time so that potential burgulars don't notice the lights coming on at the same time each day.
- Morning Coffee - Boil your kettle or start your coffee machine 10 mins before your morning alarm. Or whenever you tweet with hashtag #coffee.
- Christmas Decorations - Control your Christmas lights and other mains-powered decorations. Turn on automatically at sunset and off at bed time. The USB powerboard design will work with larger tosr0x, right up to the 8-relay model for multi-light Xmas fun times.
- Scheduled Wifi - Increase security by automatically switching off your wireless access point overnight and while you're at work. Or reverse the idea and provide a free wireless service to customers during business hours only.
Happy switching!
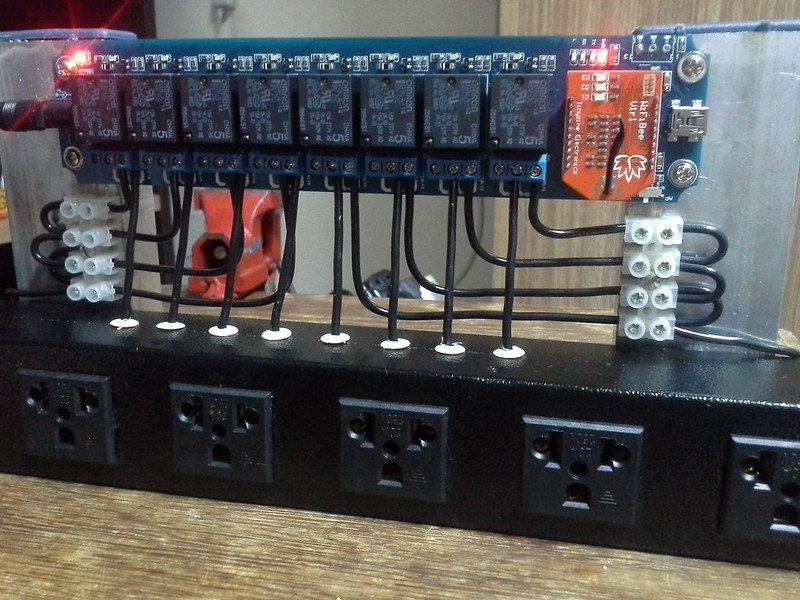
Update Jan 2015: Anahuac contacted me to tell about the 8-socket USB powerboard he built using the 8-relay tosr0x. Very impressive!