When a man has children he has bestowed upon him a lengthy catalogue of fatherly duties. One of the many roles on this list is that of "Toy Repairman".
I still remember taking broken toys to my Dad which he'd subsequently return to me repaired and ready once more for play. I even use a few of his techniques when repairing my own kids' toys.
So when my daughter broke the (admittedly rather flimsy) paper figure stand that came with a diorama set she was playing with...

...my first thought was to reach for the Araldite, knowing full well that the stand would likely end up back on my workbench after a day or two of enthusiastic play.
My second thought was...
...why not solve this problem forever, both for myself and every other Dad/Toy Repairman in the world?
If I were to create a 3D model of the paper figure stand I could 3D print a replacement. If that replacement were to break, I could simply print another. Futhermore I could share the model under an Open Source license and anyone in the world would be able to use my model to print their own stand. It sounds like an over-statement, but I would in fact be solving paper figure stands for the whole of humanity forever!
Only one thing stood in my way: while I know my way around a 3D printer, I'm not well-versed in CAD. It was after midnight and I didn't have time to start teaching myself a traditional CAD package - there was simply too much to learn.
But one thing I do know is how to code.
Enter OpenSCAD. OpenSCAD is a CAD package with a difference - instead of employing a graphical interface to create a model the user describes their model using primitives (cubes, cylinders etc) via a programming language. For months I'd planned to spend some time learning OpenSCAD and now this relatively simple object provided me with the perfect opportunity. I figured I'd give it 30 mins and see how far I got but as it turned out I didn't even need that long.
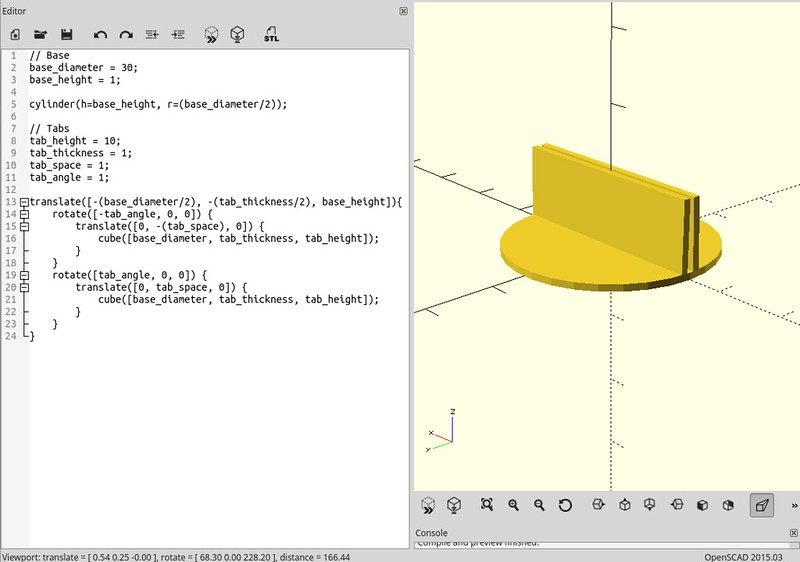
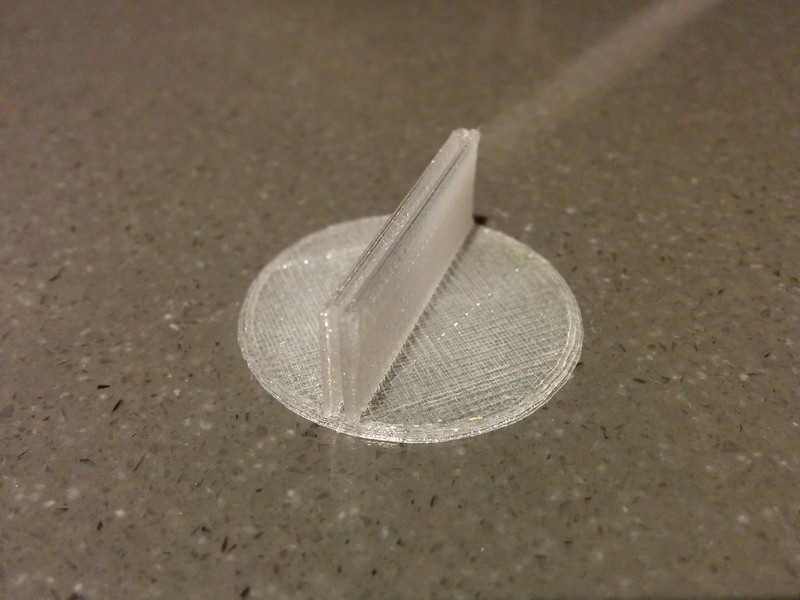
The paper figure stand was simply a cylinder with a pair of rectangular prisms (OpenSCAD just calls them cubes) on top. I learned the syntax and had a completed model in no time. I even add a little flourish - the tabs were angled in a little to help hold the figure in place!
10 minutes later the replacement stand emerged from my 3D printer:
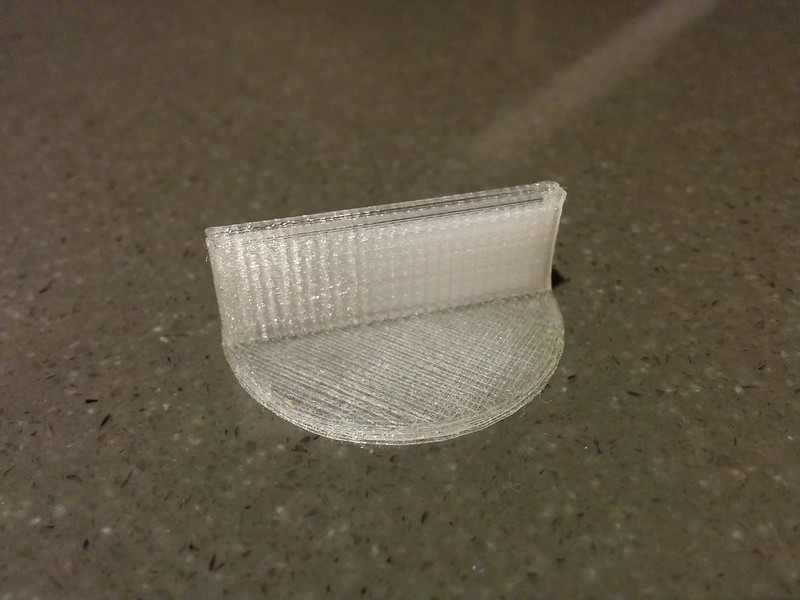
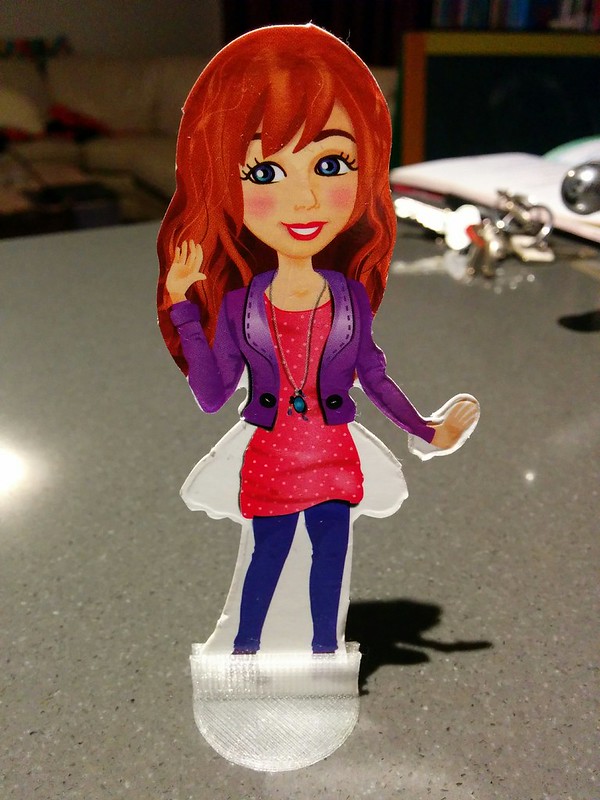
As someone whose work generally exists in the virtual world, the satisfaction of watching my design emerge layer-by-layer from my printer was quite tangible. Taking the finished stand from the printer and inserting the paper figure, my fatherly duty was complete.
But having created this simple but useful model, why keep it to myself? By sharing my model on Thingiverse I made it available to anybody with an Internet connection. People around the world could now download my model and print it out for themselves!
The awesome didn't stop there though because there's an added bonus to creating models programatically with OpenSCAD: parametrisation. Because my model is simply code, I can use parameters to define various aspects of the model. For example: the figure I was using had a base of 30mm:
base_diameter = 30;
If somebody had a different figure that was 50mm wide, they simply change this parameter...
base_diameter = 50;
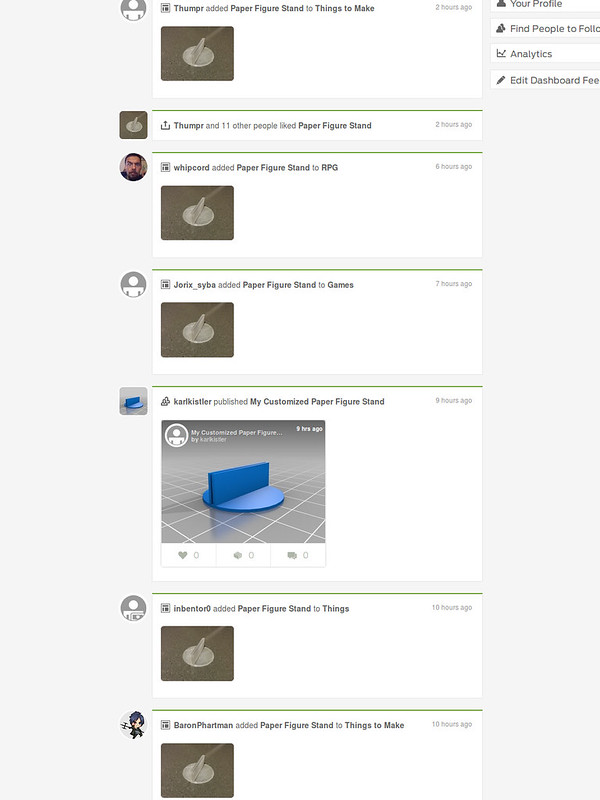
...and the model is customised to their needs. I had indeed solved once and for all the problem of paper figure stand design! Indeed within hours of posting, people were already sharing my model and creating their own customisations:
To go from a broken part to a replacement from scratch in under an hour was a real eye-opener. I'll definitely be creating more models with OpenSCAD in the future!